Mr Whipple's 442 and Hash House Harriers Page

Frame OFF!!!


Home | Body Werk | Little house @ the Cape | Guns | Off Brand | The STUMP | USNA 88 reunion '03 and Isabel | osprey | Blizzard of '03 | Blizzard or '03 | Stuff | Barn | About Me | 442 | 400G engine | My Pets | Hash House Harriers | Contact Me | Favorite Links | Suspension | dec03 snow | 68-69 dash | What is going on here? | Frame OFF!!! | Fire walls


Tools:
Trollley Jack
Engine Hoist (optional)
2 each 4"x4"x10' possibly longer
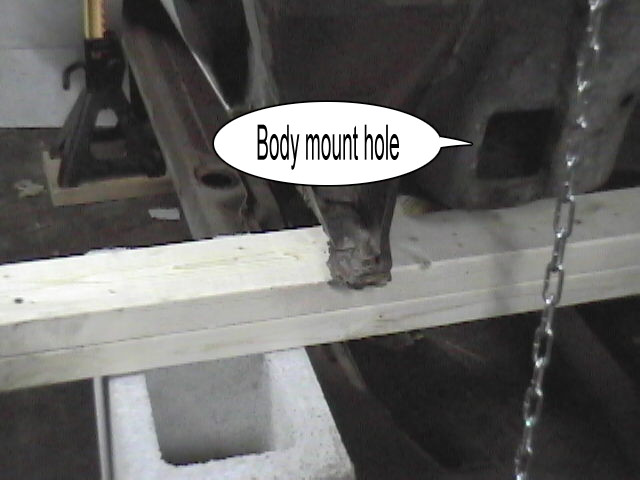
Something to support the car over the frame (more on this to come)
Several pieces of 2"x8" or 2"x10" of varying lengths
and most importantly:
COURAGE
 
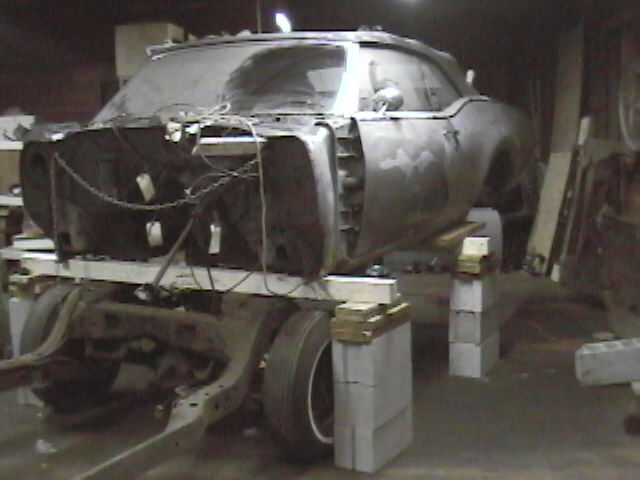
A important note on support structures, doing a frame off is DANGEROUS!!  You will be under the car at various points in the procedure, and you need to be sure that it won't come crashing down on you.  The body weighs roughly 600-800 pounds, this can easoly kill you or at a minimun hurt you severely!!  While I was doing it I had 1 set of blocks fall over fortunately the car was very close to the frame and over my beams, so no damage was done.  There are many options for support ranging from heavy duty tall jack stands (probably the safest), through empty 55 gallon drums, to concrete block.  Make sure it is concrete not cinderblock.
 
Procedure:
 
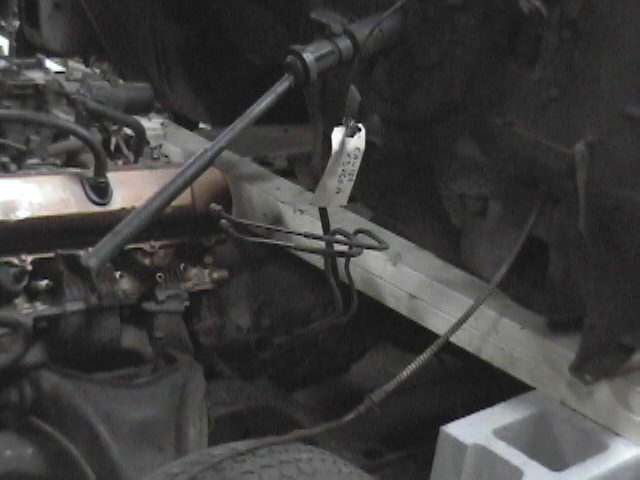
1. Buy a camera, stock in ziplock and lots of tie on lables.
 
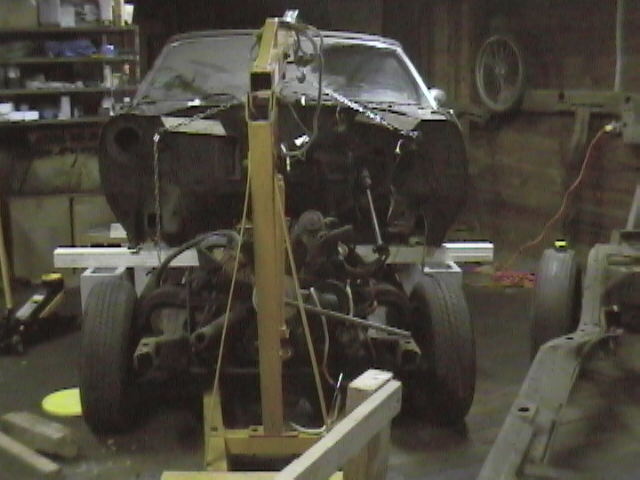
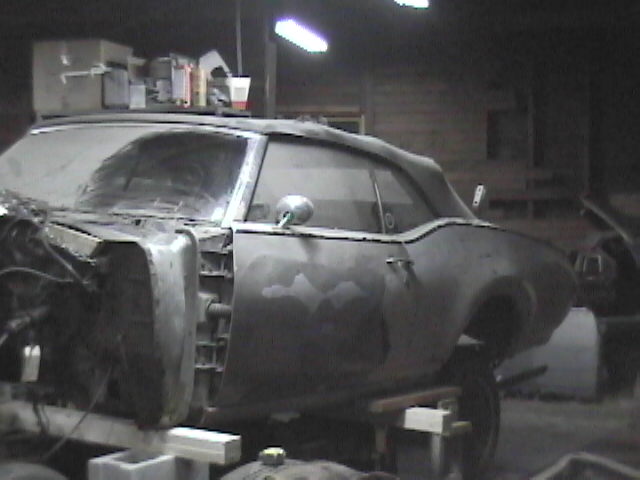
2.Start by removing the front clip, detach wring harness from fuse box and all wiring that enters the firewall, remove throttle cable, engine ground strap, detach steering collumn, emergency brake cable (you can just leave it hanging from the firewall), tranny linkages, speedo cable, brake lines, gas tank, ETC!!  The key here is to make sure that nothing is left that can interfere with the removal.
 
3. Although it doesn't really have to come out drop the drive shaft, it will make your life much easier.
 
4.  OPTIONAL  pull engine, I found it easier to wait till later for this that way no need to mess with the exhaust till later.
 
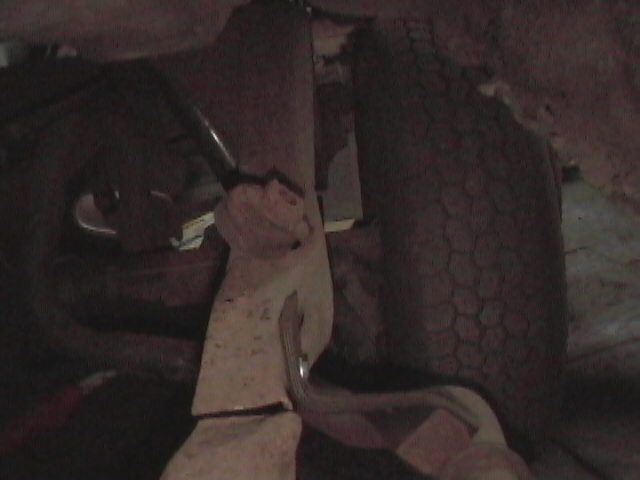
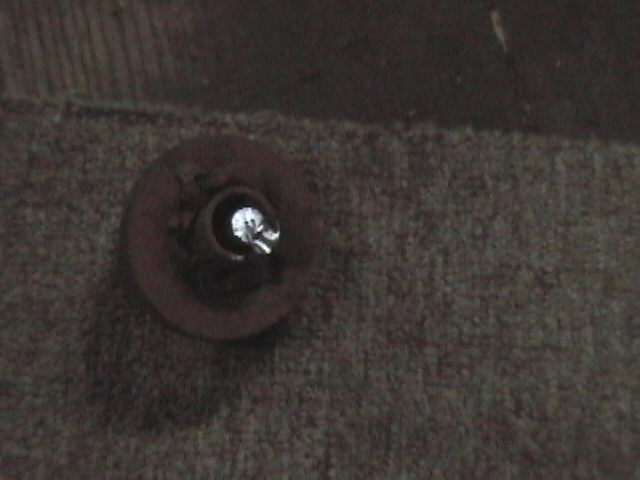
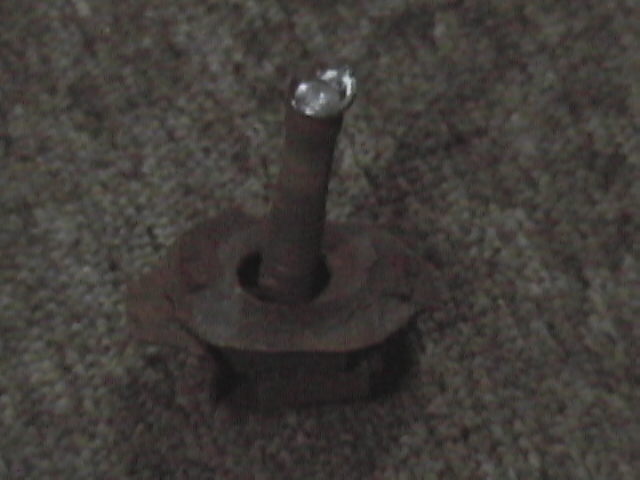
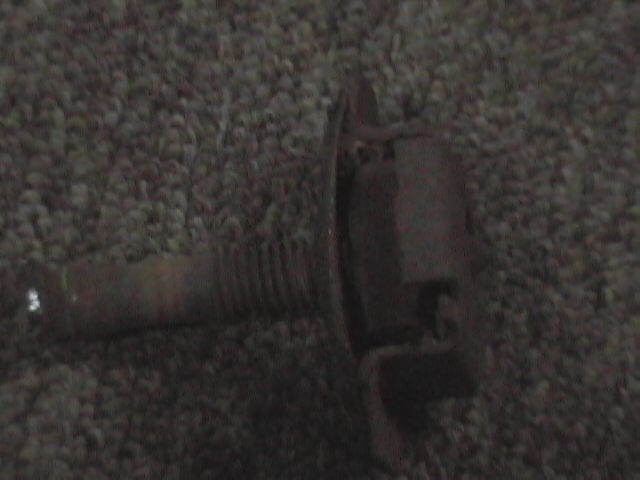
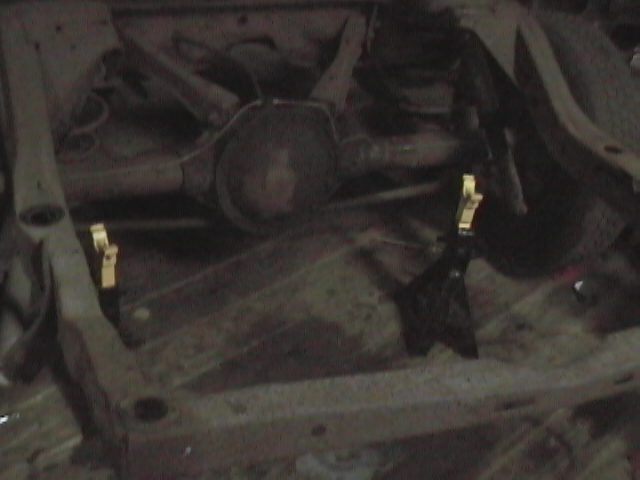
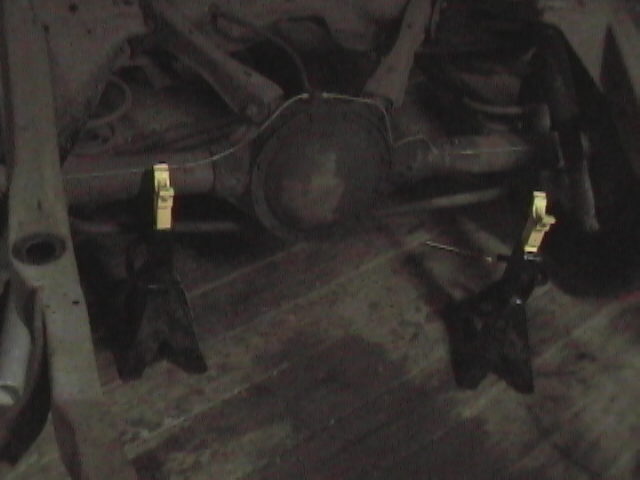
5.  Remove body mount bolts.


bustedmountonframe.jpg


nohead.jpg


badbolt1.jpg


Ever wonder what a messed up body mount looks like? Well that is one sitting onthe frame rail. Sad part is I spent more than 3 hours grinding the head off the bolt before I lifted the car. Then the whole thing falls out!!!  The bolt was just turning in the mount and not going anywhere.  And I couldn't see that the mount was torn out of the hat channel due to the bushing.  Due to the tear in the frame rail, I am going to be having a new section welded in back there.  Problem with this is the VIN deriviative is back there.  I will have to have the wrong one removed.

nakedmount.jpg

This is a close up of the body mount bolt with the mount on the right side.  Notice the cage over the square nut.  Many times the cage will fail and you will have to go in from above to get the bolt out.

6. Set up for the lift.  This is where creativity comes into play.  I didn't think to drop the driveshaft and used the big hunks of wood to spread out the jack load under the rockers.  This entailed a lot of running back and forth.  Using the big board under the brace behind the rear seat you can just go straight up.   In front I used a cherry picker chained into the fender bolt holds on the firewall.  After you get it up high enough get the beams under it. I used 8' built up beams they were barely long enough, on the next car I will use 10' 4x4s.

Note the wood
cherrypicker.jpg
It prevents damage to firewall

The folowing pictures are at various points in the lifting process. 

over2.jpg

front6.jpg
Steering collumn and E-brake cable

I t is hard to see but the beams in these pictures are in the wrong position.  Due to the way that beam loading works, the seam should be set vertically.  This will make it stronger.  I did correct this as I continued.  I ended up with the body sitting on a stack of 3 blocks with about 4 or 5" of wood on top of them. 

7.  Roll out the frame.


dvc00108.jpg

I have a 26x43 barn and it is still too damn small.  I pulled the frame out from under the 442, removed the engine and tranny, and tried to slide the frame out the door for room to maneuver the other frame into place.  Well the front wheels had some minor issues with the engine, and the rears were about 3" too wide. I took out the tape measure and decided that I might be able to get it to work with the other frame where it was ............... IF I jacked up the other frame. So as you can imagine ... the frame was rather high the sway bar was sitting on the jackstands at the height you see (roughly 2').  Ended up having less than an inch of clearance.  I managed to move the other frame laterally using a trolly jack.  I would have taken more pictures but I was kinda busy doing the deed.

jackstand2.jpg

jackstands1.jpg

8.  Roll the frame back under the body. 
 
Now for the hard part!
The difficulty is evidenced by the lack of photos.
 
9.  Lower the body till it is close to the frame.
 
10.  Using something as a guide pin in the 2 front mounts on the body get this end to line up.  If you can only get 1 side pinned that is ok.  The key point of this step is to get at least 1 point of the body and frame to be in the right place, and to stay there.  I recommend some all thread for this, you can put a nut and washer on the top of it so it hangs down while aiming for the hole in the body mount. 
 
Once you have the first side located and loosely fixed in place the second side it fairly easy to locate.  With nothing fixed in relation to the frame, you will never win.  I was trying to get it all lined up when the one set of support blocks fell over. 
 
I had to improvise and used some things that were just hanging around the barn, including a kryptonite bike lock.

dvc00102txt.jpg

11.  Loosely thighten the 2 front bolts.
 
12.  Ccarefully lower the rear end of the body over the frame, it will essentially self locate.  This does assume that you are lowering from behind the rear seat.
 
13.  Buy some anit-sieze and butter up all the body bolts.
 
14. Install body bolts and torque to 22-55 ft lbs.  Note you will need to check the torque on these a few times, especially if the body has no interior when you do them initially.   I'd recommend checking them at least 3 or four times over the first couple months of driving, maybe at 100 mile intervals.  The rubber will compress resulting in the torque being reduced.